Issue 177, for the week of 8/27/2006.
Toast Note: Happy birthday to my sister Becky, who is celebrating in India. Wow. That is way cooler than a Cuisinart.
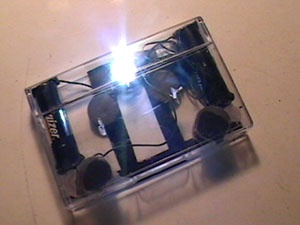
Boring Preface: Massachusetts state law requires a bike to have a forward light while riding at night. Commuting home on the city’s lit streets, I’m less worried about seeing the road than about other people seeing me. The cheapest bike lights seem to run about $20, so I’ll make that the maximum budget for this project. The light needs to be easy to attach and remove, durable enough to throw into a shoulder bag, and easy to turn on and off. I’d also like it to double as a flashlight the next time a transformer blows up in Central Square.
Theory: The front reflector seems to be the most logical place to attach the light to the bike, though I don’t want to obscure the reflector itself. It should be possible to build a bike light inside an old audiocassette case using two AA batteries, a pack of magnets, and a bright white LED upgrade for a mini Maglite. The light would clip around the bike’s front reflector. This project should cost less than $20.
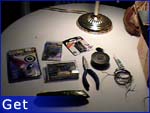
Get:
- An audio tape case
- A three-LED upgrade kit for a mini Maglite
- Eight (8) round 3/4″ ceramic magnets
- Two (2) AA batteries
- Some thin insulated wire
- A few scraps of aluminum foil
- Electrical tape
- A small tube of super glue
- A pair of needle-nosed pliers
- A utility knife
- A ruler or measuring tape
- Space to work
Make sure that the cassette case isn’t one of the newer “slim” cases, but the regular kind. The mini Maglite upgrade kits consist of a replacement reflector housing three bright white LEDs wired into a resistor correctly sized for two AA batteries. They retail for about $11. You could certainly use your own LEDs (I read that Christmas lights are a cheap way to get them) but I don’t know nearly enough of a damn about electricity to figure out what size resistor to use — just that I need one to keep from blowing the LEDs out. Three-quarter inch ceramic (black) magnets usually come in packs of eight at the hardware or hobby store, and go for about $1.25. They’re fun to play with. If you don’t have a little spool of insulated wire lying around the house, I guarantee you have a broken stereo in the basement you can pillage. Utility knives seem to have been renamed “box cutters” since I was a kid, but I refuse to let the terrorists win.
Step A: Measure the width of your front reflector. These instructions are written for a reflector about 2 and 1/8 inches wide. From what I can tell from a cursory look around Porter Square, this kind is fairly common. Some of the newer bikes have smaller reflectors (why?), which should work fine for our project. A larger reflector would require a larger case — maybe a VHS-C tape case. Everything jams in pretty snugly with this design as is, so if your reflector is a different size you’ll have to play jazz a bit.
Step 1: Take the tape and label out of your audiocassette case and throw them away. Your crappy Sony deck hasn’t worked for most of a decade now anyway.
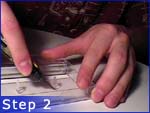
Step 2: Cut/snap the two prongs out of the tape case.
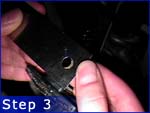
Step 3: Measure the width of the bracket on the back of your reflector — the part that connects it to the bike. Mine is 3/4 of an inch wide. The metal piece will probably be a little bit narrower than the part it screws into. If it is, just take the wider of the two measurements. Like I said, mine seems to be a pretty standard part, so if your reflector is the same size as mine it’s also probably 3/4 of an inch wide at the bracket too.
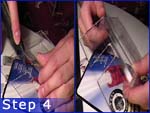
Step 4: Cut a notch, using that measurement, in the back of the tape case. The reflector and bracket together are too thick for the case to snap shut around, so we’ll need the bracket to hang out the back. Be careful to center your cut. Cut from the bottom of the case up to about even with the overhang. Mark your cut lightly with a straight edge or ruler, then go over it repeatedly until you cut all the way through. A little bit of splintering around the cut is normal, just don’t be so impatient that you crack the case. Did I mention it might be a good idea to put a new blade in your knife for this project? It might be a good idea to put a new blade in your knife for this project. Before now.
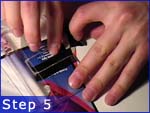
Step 5: Wrap electrical tape around all three sides of the cut. This will cover up the shattery bits, keep any cracks from spreading, and give it a nice rubberized mounting around the bike reflector bracket. Cut away the excess.
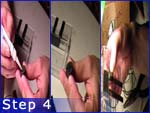
Step 6: Grab two of the ceramic magnets. We’re going to be gluing them on either side of the cut, about even with the overhang. These will be to rest against the back of the reflector, hopefully keeping it from moving too much. One by one — and with the other magnets clear — put a good bead of super glue on one of the two magnets, press it into place and hold it there for about a minute.
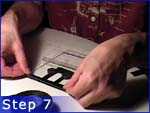
Step 7: Stick a piece of electrical tape along the entire length of the bottom of the case, folded over lengthwise. Half of it should be stuck to the outside of the case, and half to the inside, with the tape stuck to itself where it crosses the notch we cut. This will keep the bottom from wobbling by holding it tightly against the metal bracket. The electrical tape is a little bit stretchy, which is good. Anyone going for extra credit here might try sticking a rubber elastic inside the tape for extra holding power.
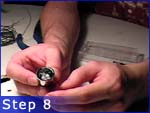
Step 8: Open the LED upgrade kit. You’ll find a little black cup with the LEDs inside and two wires sticking straight out the back, surrounded by a silver reflector.
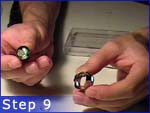
Step 9: Remove the reflector; the LEDs are bright and directional enough without it, and it’s too thick to fit inside our tape case.
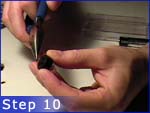
Step 10: Bend the two wires on the back to either side, being careful not to rush and snap them. I don’t really know how much abuse they’ll take, and I don’t want to find out.
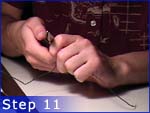
Step 11: Cut four pieces of wire: three long ones (maybe 4-5 inches apiece?) and one short one (1-2 inches long).
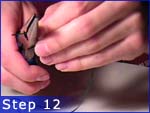
Step 12: Strip each of the wires half an inch in from both ends. If you’ve never stripped wires with pliers before, it’s easy: Go around the wire worrying the plastic insulation with your pliers’ cutters. Don’t squeeze hard enough to actually cut the wire. The plastic cuts more easily than the metal inside. Begin pulling the wire as you continue weakening the insulation. Look for strong places, and keep pulling the wire and worrying at the insulation. Eventually, the plastic will begin to slide off the wire. Yank it off, and give the wire a twist or two.
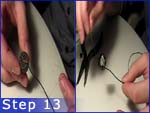
Step 13: Take two of your longer pieces of wire. Make a little loop in the stripped portion on one side. Slide this loop around one of the wires on the back of the LED cup. Twist it a few more times, and squish it all together to get a good electrical connection. Repeat, looping the second wire to the cup’s other connection. If you want now, you can solder the wires permanently together — but I hate soldering, and I don’t want to pretend this project requires it. Either way, finish by sticking a square of electrical tape on the back of the cup.
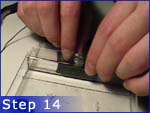
Step 14: Slide the LED cup up under the lip of the cassette case, facing outward. Feel free to glue it in place, but it’s a pretty tight fit — I say don’t bother.
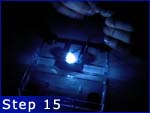
Step 15: Since LEDs only allow current to flow through them in one direction, we’ll need to figure out which side is + and which is -. Hold the wires against either end of one of the AA batteries. If it lights up (cool!) make a note of which side is which. If not, reverse and retry. (If nothing lights up, redo those connections.)
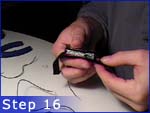
Step 16: Tear off two pieces of electrical tape, each about twice the length of a battery. Lay each strip of tape face up on the table and center the batteries on them. We’re going to be taping the wires directly to the batteries. It’s easy to do, and with the LEDs we won’t have to change the batteries much anyway.
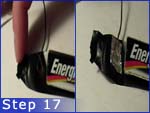
Step 17: Tear off two small scraps of aluminum foil. Stick the wire from one end of the LED cup to the electrical tape beneath the battery contact, and then put a scrap of foil on top of it. Wrap the tape around the battery contact. Repeat for the other wire and the other battery. Wrap the tape around the battery contact. The aluminum foil is here to give us a larger electrical contact. Aluminum foil is conductive.
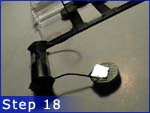
Step 18: Tear off two more scraps of aluminum foil. Using the same procedure as the last step, stick the short wire to the other end of one of the batteries. Grab a ceramic magnet and the other scrap of aluminum foil. Tape the loose end of the short wire to the top of the magnet, with part of the foil sticking out. Fold the foil over the top of the magnet.
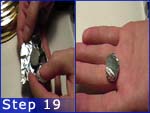
Step 19: Tear off a larger scrap of aluminum foil and wrap it completely around one of the remaining magnets. This will be our “switch.”
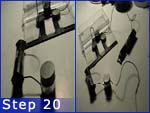
Step 20: As in step 18, tape the remaining long wire to another of the magnets, with a piece of foil folded over to make an electrical contact. Let it stick itself to the “switch” magnet.
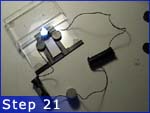
Step 21: Just like in step 17, connect the loose end of the wire to the remaining battery contact. The LED should light up. If it doesn’t, troubleshoot: We should have a circuit going from the LEDs to the first battery, through the bottom magnet, through the foil on the “switch,” through the second battery, back into the LEDs. Make sure your +’s and -‘s are all going in the right direction. Redo the foil/wire connections with more foil. If it did work, great job.
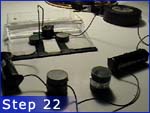
Step 22: Notice something. When you pull the “switch” magnet out of the stack and replace it with a bare magnet, the LEDs don’t light up. Ceramic magnets aren’t conductive. When the “switch” is in place, the circuit is on. When there’s a bare magnet there instead, it’s off. Leave the bare magnet in the stack between the two wired magnets. Stack the “switch” and the two remaining magnets with the “switch” in between. We should have two stacks of three magnets, which you’ll notice are about the same depth as the tape case.
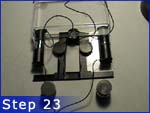
Step 23: Push the two batteries tightly into the top right and left hand corners of the tape case so that they’re square with the edge.
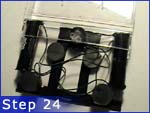
Step 24: Place the stacks of magnets at the lower inside corners of the batteries. Experiment with closing the tape case. Find the position where the stacks are as close to the lower right and left hand corners of the case as possible, but the case can still close without hitting the magnet stacks or the batteries. We want everything to fit snugly.
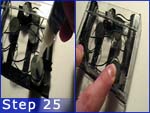
Step 25: Once you’ve found the ideal positions, put a generous bead of super glue on top of each magnet stack and close the case. Hold the case shut as tightly as possible for about a minute, to make sure the super glue sets up properly with the top of the case.
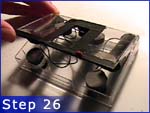
Step 26: Flip the case over and repeat step 25, gluing the bottom of the magnet stacks to the bottom of the case.
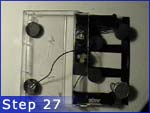
Step 27: Once you’ve given the super glue some time to set up, flip the case back over and reopen it. Since we had to cut that notch in the back of the case, the back is the weak point: pull evenly on both sides to reopen.
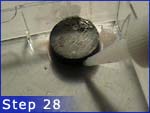
Step 28: The trouble with ceramic magnets is that they don’t like sticking to anything more than they like sticking to themselves. To add strength, encircle each of the glued magnets with another bead of super glue. Let it set up, and cut away the excess if it gets on anything else.
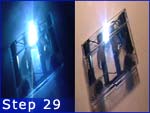
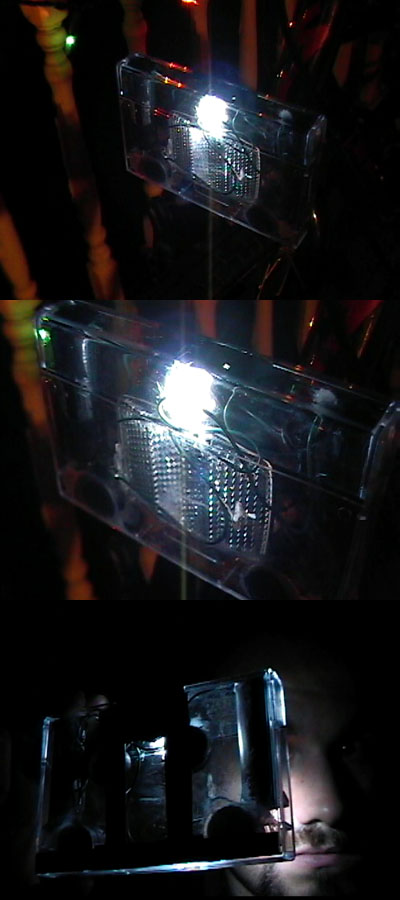
Step 29: Tape the loose wires out of the way. You’re done. Swap the “switch” with the other loose magnet (storing the loose magnet on the other stack) place it around your bike reflector and let it snap shut. You’ve got a light on your bike — a bright one at that, which doesn’t strobe, pops on and off easily, and won’t chew through batteries every couple weeks.
Criticisms: Despite being built in a plastic case, the light is far from waterproof. I wouldn’t even call it terribly splashproof. Silly as it would look, a sandwich bag over the top might not be the worst idea on a rainy day. Opening the light takes some learning, as you figure out how to evenly pull on both sides of the case’s back. The biggest problem I’ve encountered, though, is the one mentioned in step 28: ceramic magnets just don’t like to glue down. Step 28 was an afterthought, after I had to reglue one of the stacks. It’s certainly stronger with an additional bead running around the base of the magnets, but I’m starting to think a gel epoxy (nasty as that stuff is) might eventually be needed.
Final Thoughts: It works, weirdly enough. Assuming you already have things like pliers, electrical tape and a set of batteries, you should have no trouble beating the $20 budget. (If not, they’re good things to own.) Please enjoy your antiluxury good. Build one? Send me a picture.
If you liked this project, you may also dig the previous Build Notes: Junk Mail Blinds.
[Click here for a printable version — or just turn stylesheets off.]
 The Space Toast Pages present a free audiobook of H. P. Lovecraft’s “The Music of Erich Zann.” In his impoverished days as a student, a young American makes the acquaintance of an old musician whose singular genius draws him ever closer to the mysteries beyond the wall atop the Rue d’Auseil. This short story was originally published March 1922 in The National Amateur, 44, No. 4, pages 38-40. Rasmussen hates his voice, and hopes you will too.


