The biggest update ever! Besides the lovely new Watch Room models blogged previously, please enjoy:
Three new secrets to uncover
New, streamlined AR setup
Revamped models & textures
Graphics, audio and performance improvements throughout
All this and it’s free through September 9! Grab your copy — and be sure to give it a star rating on the App Store. (It takes 3 seconds, and really makes a difference with search visibility.)
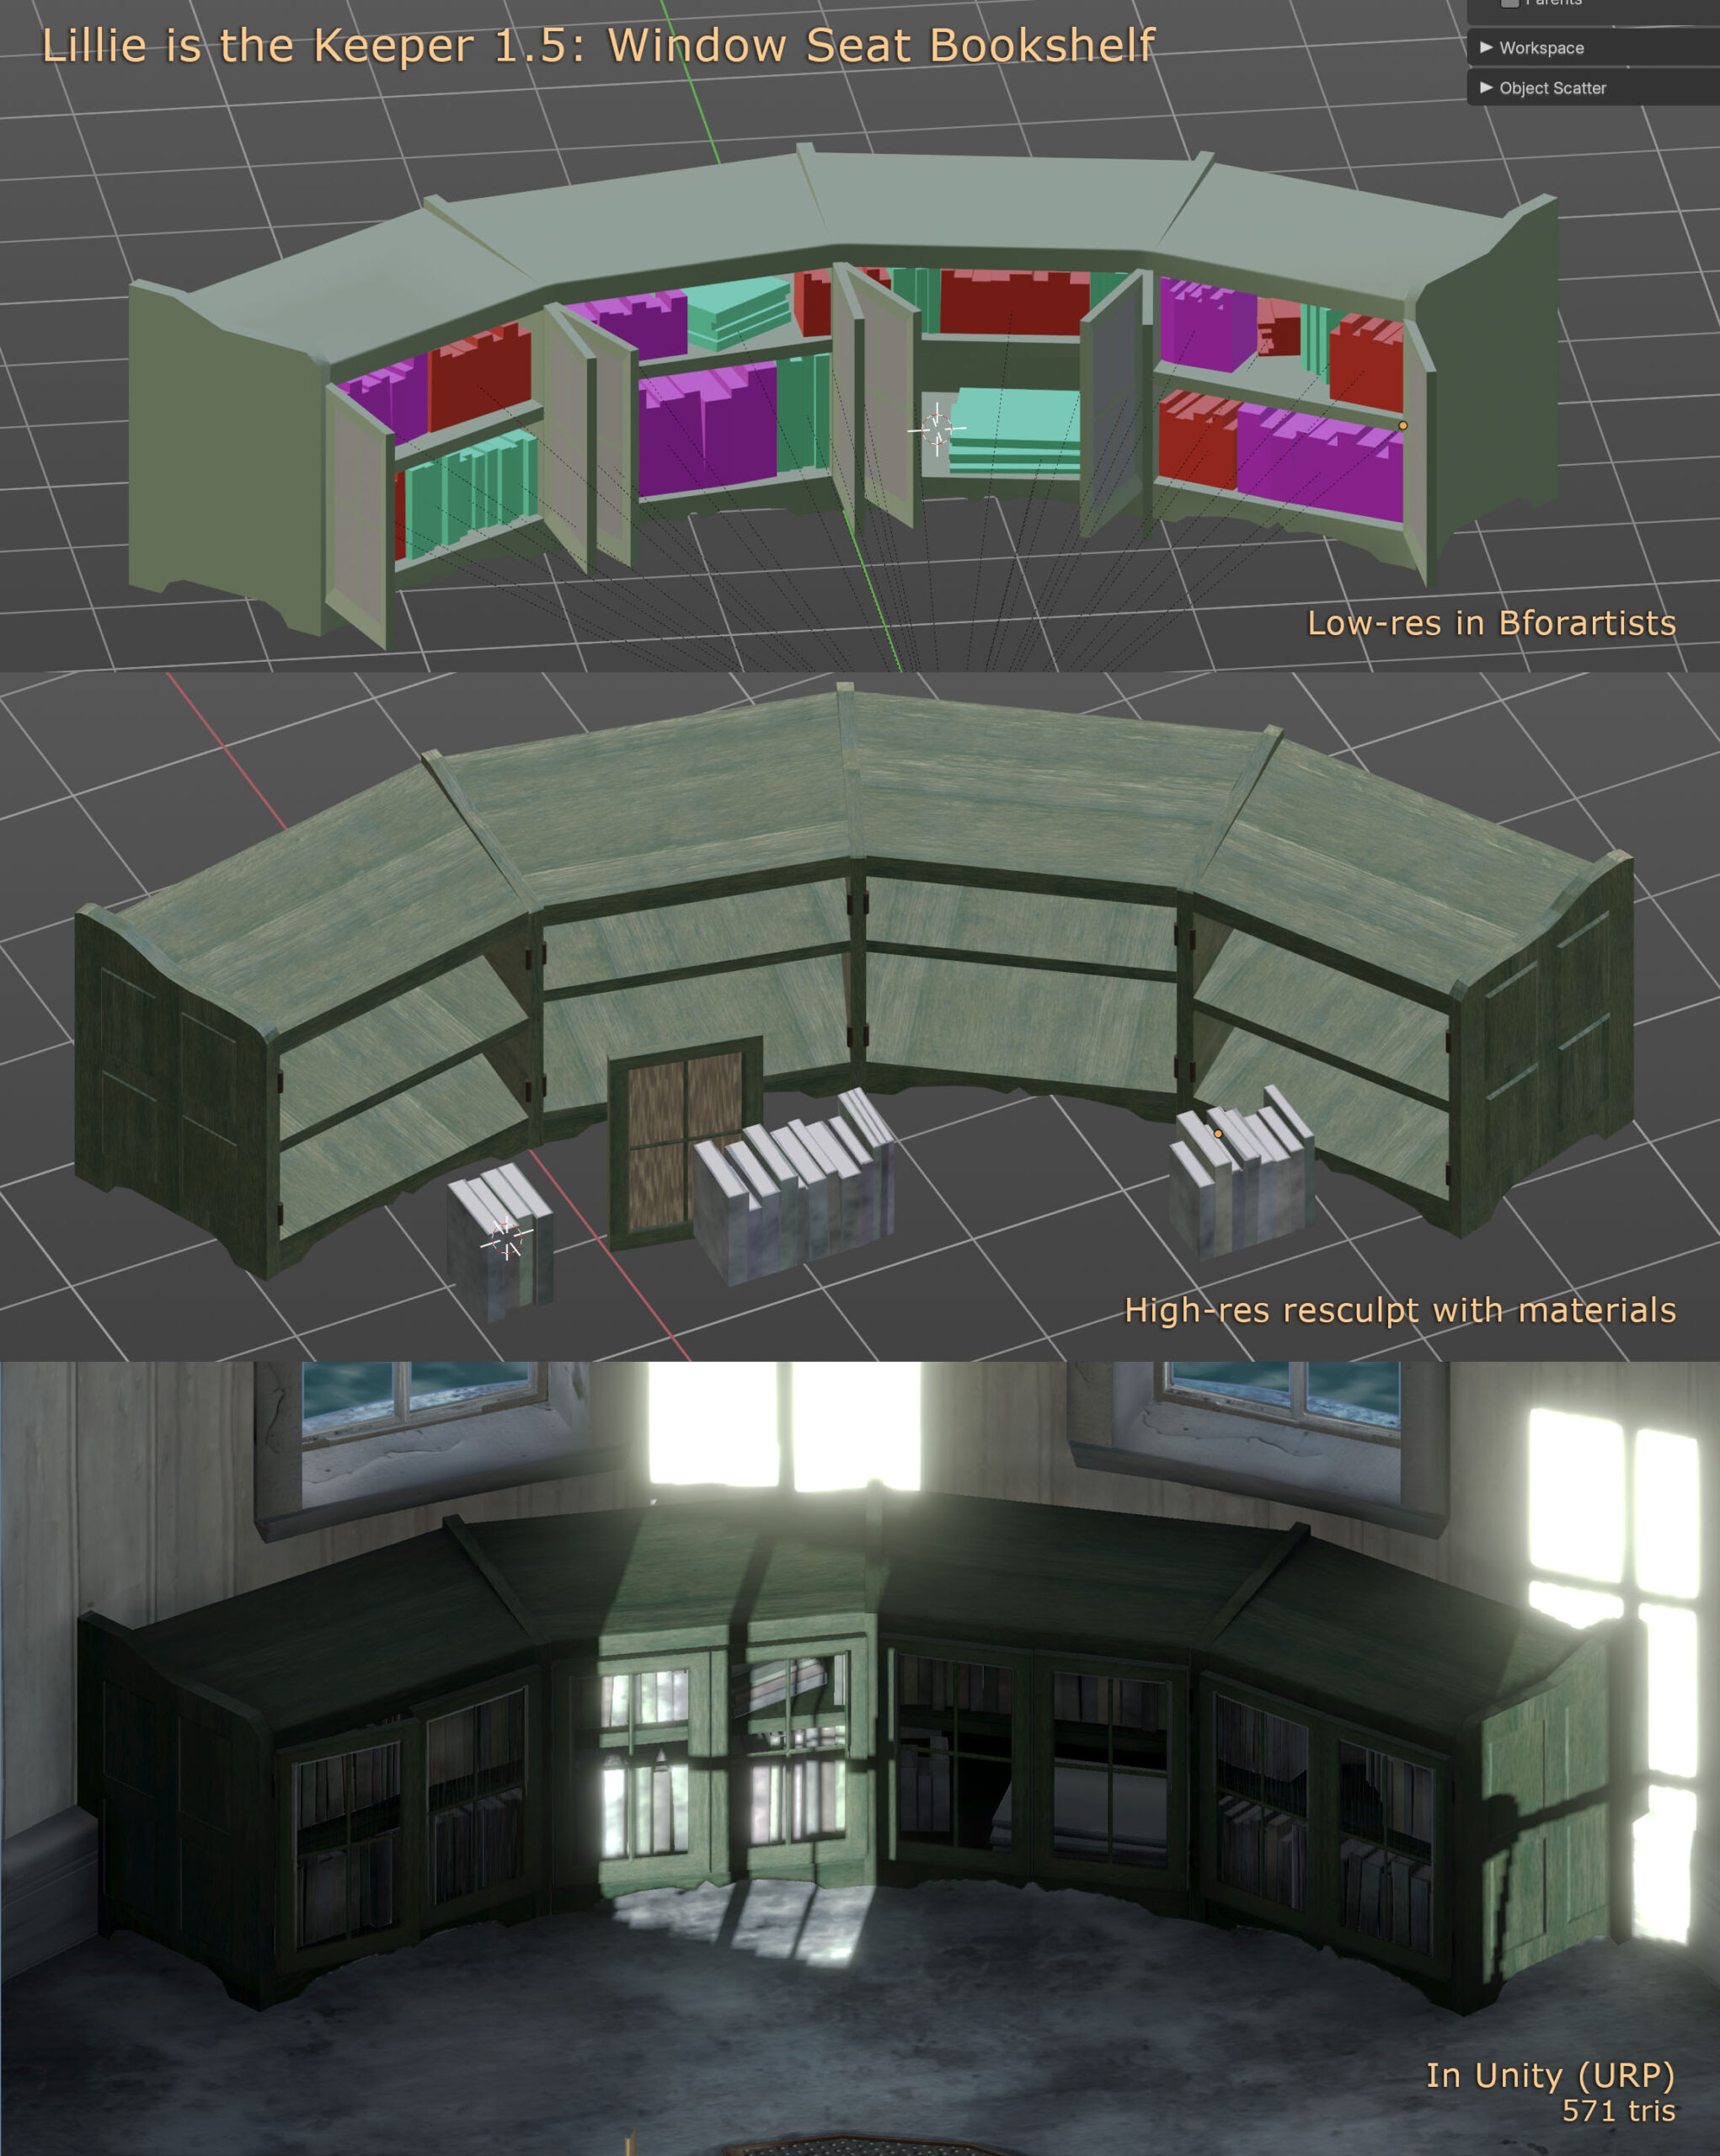
This was supposed to be a quick, low-detail item. But it looked too much like a tv shelf. Two days later…
Build process for the new Watch Room bookcase in Lillie is the Keeper v1.5.
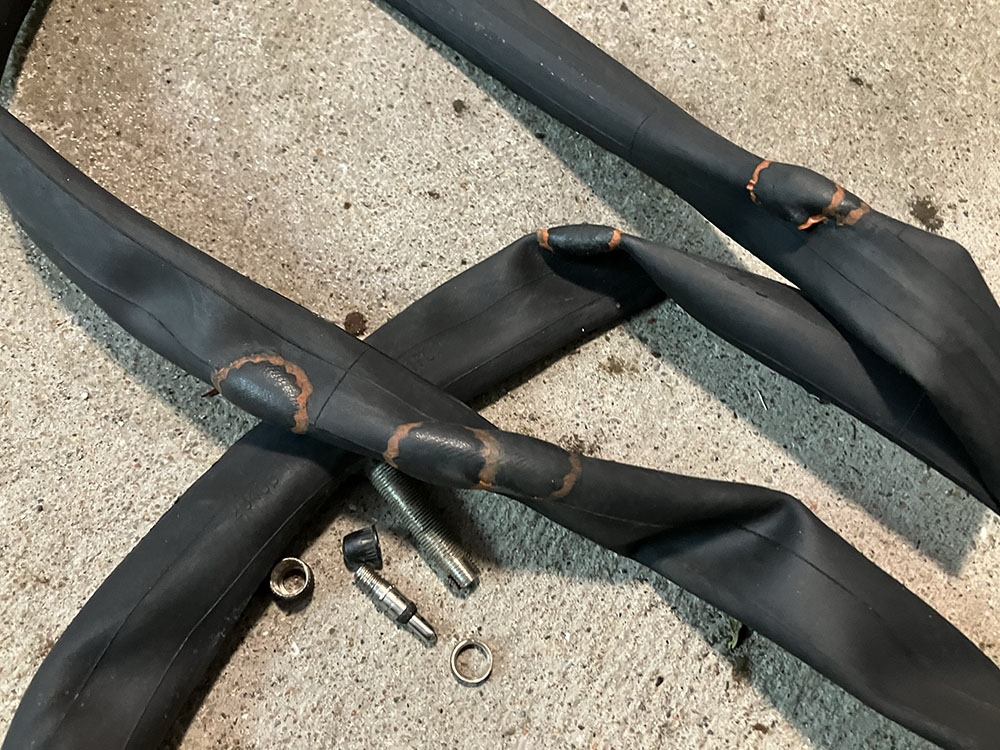
The everything-is-hand-modelled marathon continues with an assortment of new chairs, cleats, rings, hooks, rain gear, ropes and more. Look for Lillie is the Keeper 1.5 later this week, if all goes well.
1.5 will be titled “Secrets.” You’ll find out why.
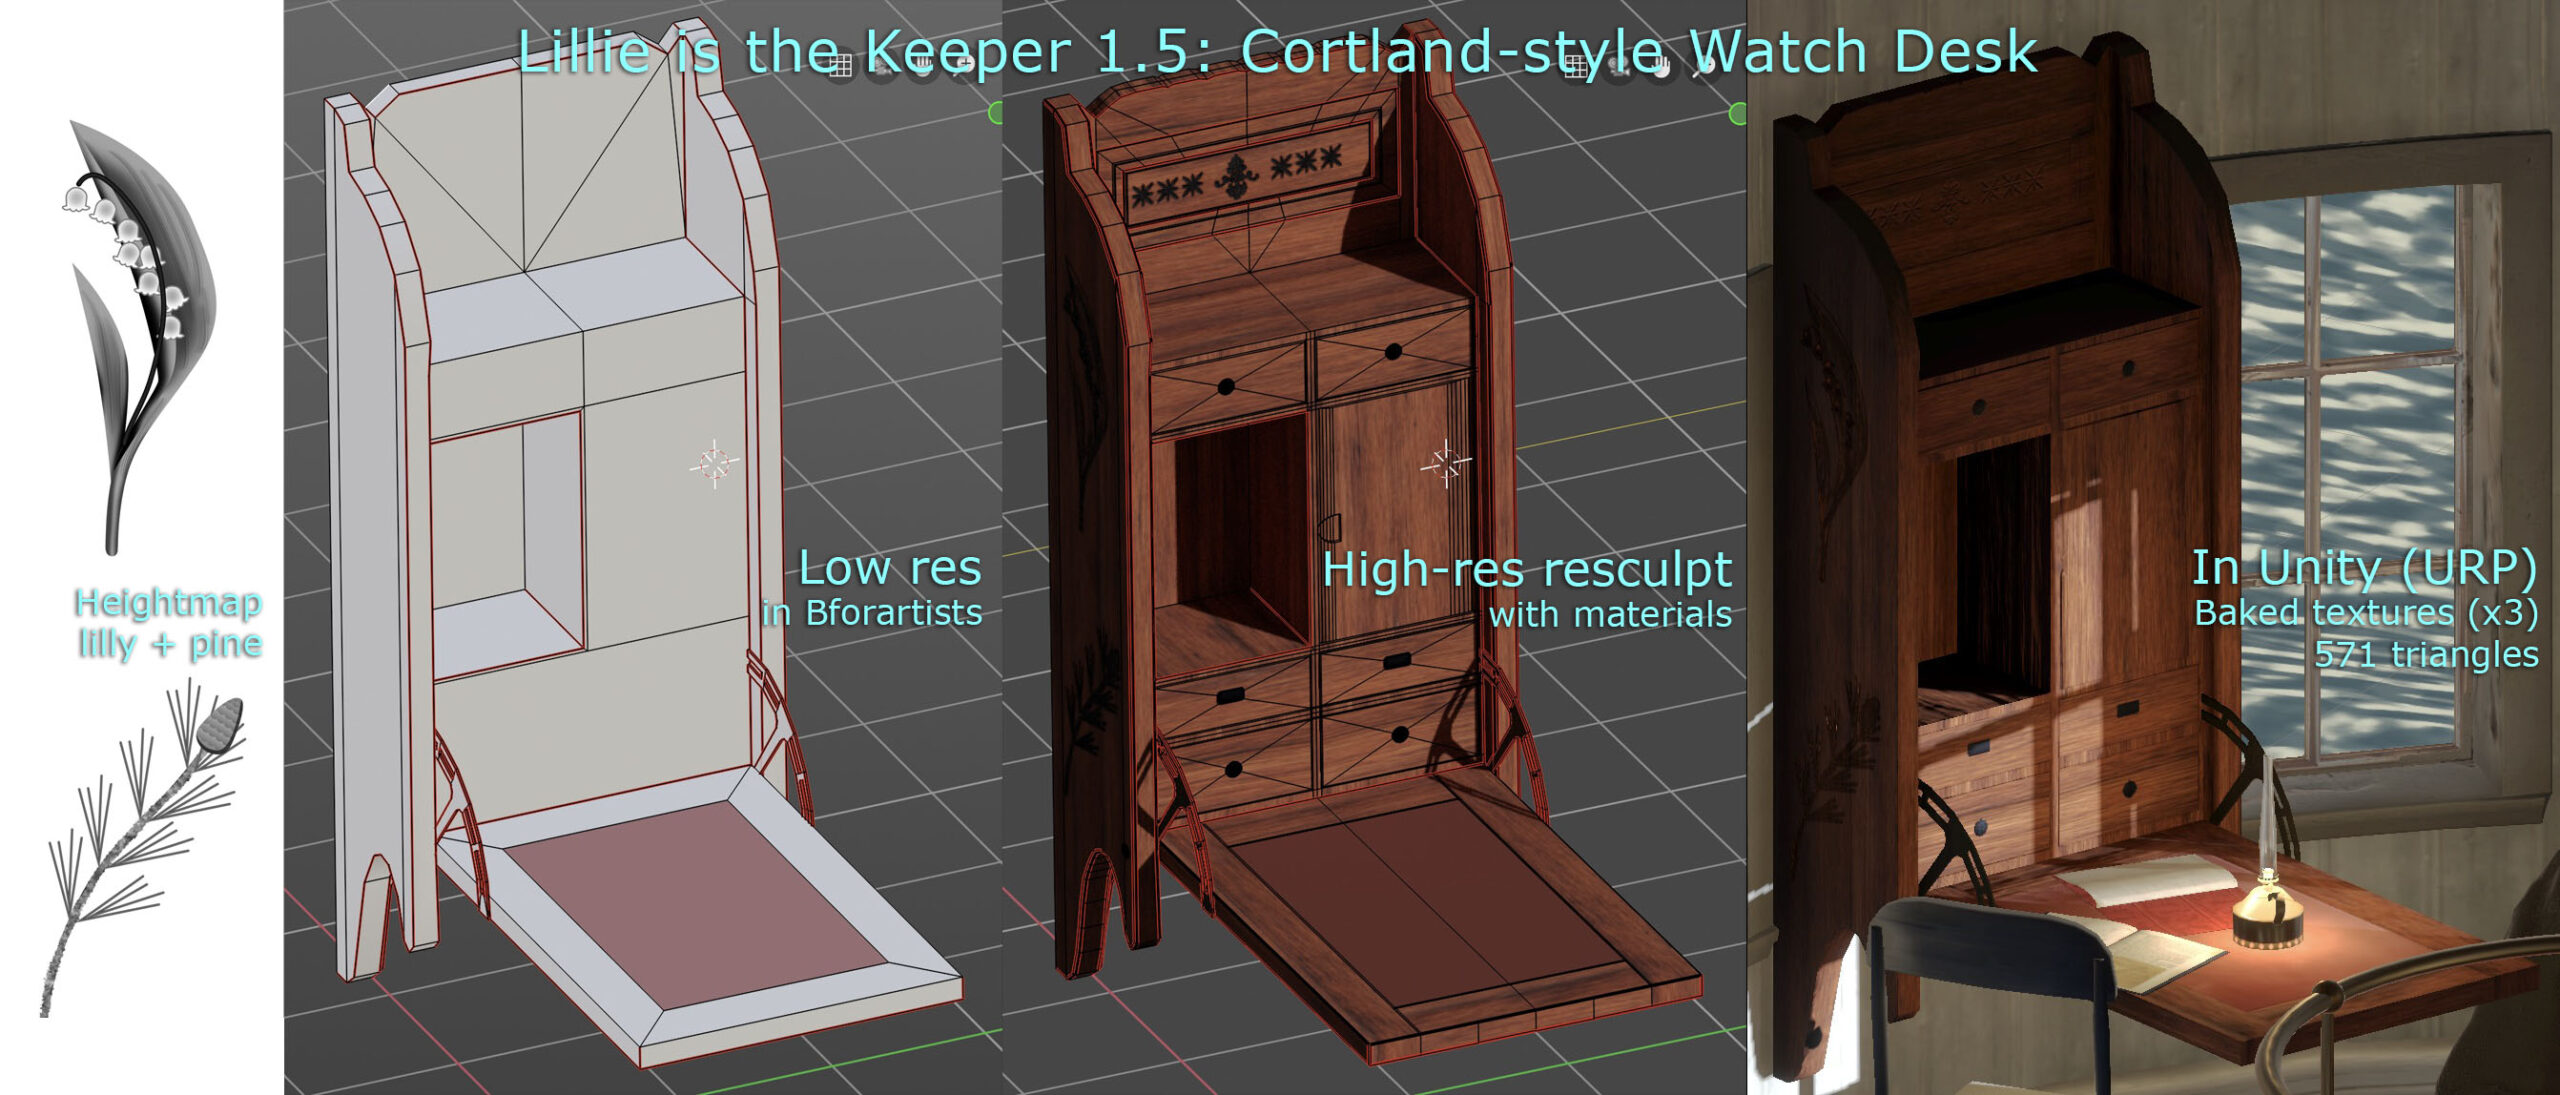
Build process for the new watch room desk in Lillie is the Keeper 1.5
Stealing a bit of time to work on the next release of Lillie is the Keeper. I always wanted some sort of hero wall-mounted desk in the watch room (top floor, beneath the lantern). It’s rather a hub, as far as the game is concerned.
The design is inspired by a Victorian-era Cortland desk.
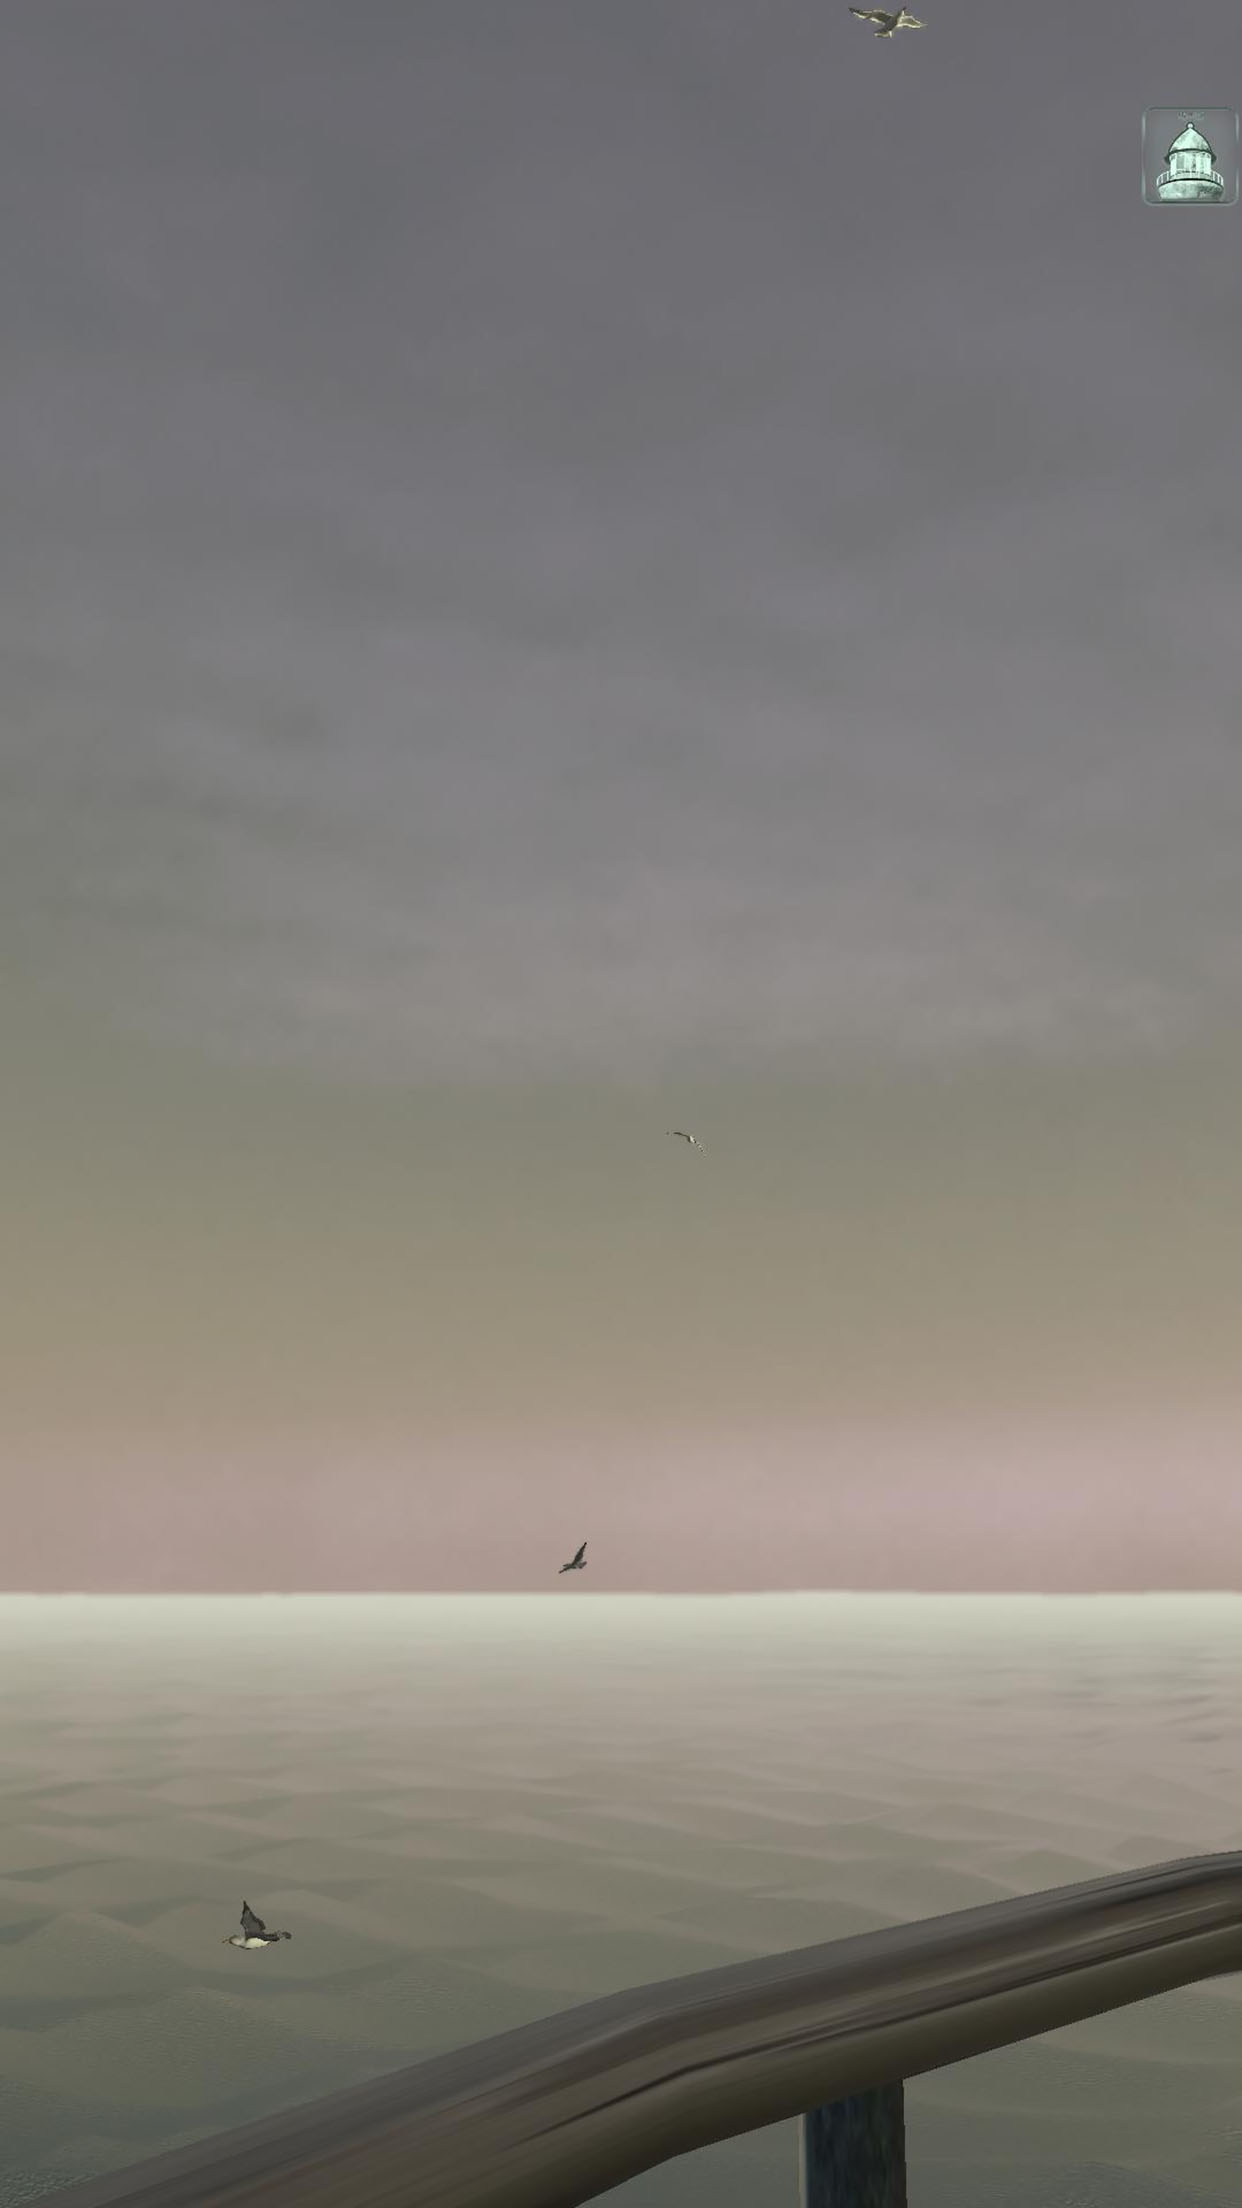
Each level of “Lillie is the Keeper” features a unique high-definition skybox texture. These Unity cubemaps are rendered in Bforartists, the UI-focused fork of Blender. Here’s how you can create your own.
Create a new scene in Bforartists, and switch the Render Engine to Cycles (camera icon: Render Engine). Add a single Directional Light, to act as the sun. Model a gently curving lenticular piece of geometry, about 5 km in radius, to act as the ground/ocean, and texture it appropriately.
If you’re interested in accuracy, you can enable an add-on called Sun Position to set your sun angle for the date, time, latitude and longitude of your game scene (Preferences menu: Add-ons: Lighting: Sun Position).
Switch to the Shading tab, and select the World (background) shader. Create a Sky Texture node. Set it to Preetham, and link its output to the World Output node’s Surface input.
Clouds
Next, model your clouds (as ordinary geometry) in rough form. Hide them from rendering. Create a Volume object (Add menu: Volume: Empty). Go to the Volume’s Modifiers tab (wrench icon), and add a Mesh to Volume modifier. Set the Modifier’s Object to your hidden cloud geometry object. What you’ll get is a Minecraft-like blocky cloud. Increase the Voxel Amount to reduce this blockiness somewhat–try 1024.
To fully remove the blockiness and get cloudier edges, go back to the Modifiers tab, and add a Volume Displace modifier. Go to the Texture tab (checkerboard icon). Create a new texture, and set its type to Clouds. Go back to your Modifiers, and assign the cloud texture to your Volume Displace modifier. Adjust the Texture and Modifier settings until you like the results.
Go to the Material tab (crash test dummy head icon), create a new material, and assign it the Principled Volume shader. Adjust the material properties to your desired cloud appearance. (This can take a while. Start with a Density of .001-.005. You’re welcome.)
Rendering
Finally, set up your camera to render the six faces of the cubemap. In the Data tab (camera icon) set the Field of View to 90 degrees. In the Output tab (printer icon) set the Resolution to a power-of-two square, like 1024 or 2048. Set the Frame Range to 0-5. Select a folder and filename to render to, setting the File Format to OpenEXR (.exr), in order to save HDR color values. Go to the Animation tab, and animate your camera to be rotated as follows on frames 0-5 (x,y,z):
0: 90, 0, 270
1: 90, 0, 90
2: 180, 0, 0
3: 0, 0, 0
4: 90, 0, 0
5: 90, 0, 180
Render all six frames (Render menu: Render Animation). This would be a good time to take a walk around the block. Notice the blackbirds.
Building the Skybox
When you get the renders looking how you want, open your frames in an image editor and arrange them in one big vertical strip. Frame 0 should be at the top, and 5 at the bottom. Save this, again, as an OpenEXR file.
In Unity, import the strip image. Click on the texture to see its Import Settings in the Inspector. Set the Texture Type to Default, the Texture Shape to Cube, and check Fixup Edge Seams.
Finally, create a material. Set the Shader to Skybox/Cubemap, and under Cubemap (HDR), select your texture. In your Scene, open the Lighting panel (Window menu: Rendering: Lighting). Click the Environment tab, and assign your material to Skybox Material.
Bonus
Download my .blend file for LitK level 5: Light right here.
A frosty Christmas eve
     When the stars were shining
Fared I forth alone,
     Where westward falls the hill
And from many a village
     In the water'd valley,
Distant music reached me
     Peals of bells a'ringing
The constellated sounds,
     Ran sprinkling on earth's floor
As the dark vault above,
     With stars was spangled o'er.

-Robert Seymour Bridges
"Noël: Christmas Eve 1913"
Only once, in all that I’ve spent away from home, have I heard church bells ringing over a town on the night of Christmas Eve. It was in Denmark, and I had been deposited at a stop on the main road. A small village snaked through the dark fields below me, from which rose those clear bells. I was to be the guest of strangers, as often before. It couldn’t have been late. Night comes early there, even in the low north.
Ironically, the acquaintance I was to meet had been made at the height of summer. I recall sitting with three men, pleasantly drunk, not at all following a hushed conversation in Danish, or perhaps dialect. The one English speaker remembered my name well enough: “Geoff with a Gee!” I don’t remember his, having scratched it down only as “J.” It was near 11, but the orange sun hung sluggishly above the horizon, shining through the trunks of a distant copse of trees to inflame the cigarette-stained window of the ancient pub. At some point, I’d mentioned the possibility (then remote) of finding myself that way again at Christmas. My acquaintance had invited me along, in more and fewer words, should the case arise. The men before me were all shadows.
The Meeting House was the second I’d passed, meandering down into the village. As befitting the local agriculture, the new heir to the title had been, effectively, a human pig shed: a low, metal-roofed concrete slab, full of white plastic chairs. The old Meeting House was in every way a contrast. It wasn’t large, but rose to two storeys, with masonry arches above the well-framed windows, and a steep tiled roof. Though also built of greying brick, its age versus the surrounding houses and their large flat expanses was evident at a glance.
A mailbox and wet path up the front yard suggested that the sturdy little building had been subdivided into at least one pensioner’s apartment, but I confess I saw no evidence of this later, and the path may well have led somewhere around behind. Within the privacy glass and drawn blind shone a handful of christmas lights, red and yellow. Someone moved within, momentarily interrupting the pleasant glow. I’ve always been struck by these momentary winter night glimpses into the private lives of others.
But no. The yellow lights were the trick of an approaching car’s headlights. The red were from another that had just passed. The whole effect, including the glow inside, was a confusion of the frosted glass and vinyl blind. The pensioner’s apartment was quite empty, Herr Something-or-other having no doubt gone to his child’s house for the holiday. The other, larger section, showed no signs of life whatsoever.
I continued past the old Meeting House into the village proper: A cluster of houses, garages, a grocery kiosk, and a stone church in the distance. Nothing more. Before the shut-up kiosk, I found my acquaintance with two other men. We were to return up the hill to the Meeting House. He recognized me (“Geoff with a G!”) but I confess I didn’t recognize him. Perhaps he’d shaved his beard, or I was confusing him with another of the drinkers.
Imagine my pleasure when, long before reaching the pig shed, we turned up the damp walkway to the old Meeting House. A rap at the door revealed a clamorous party inside, athough it couldn’t have been 20 minutes since I’d previously passed.